
How To Create An Agent In DataPeak
Build your own AI-powered workflow using Custom Agents.
Custom Agents let you design automated workflows inside DataPeak using an intuitive drag-and-drop interface. You can build multi-step processes, connect components, generate summaries, perform queries, and create outputs like PDF files, all without writing code.
This guide shows you how to create a Custom Agent from scratch. If you prefer, you can also run one of DataPeak’s pre-built System Agents instead.
1. Before You Begin
Custom Agents are available to Admins and Sub Admins.
Business Users can run agents but cannot create or edit them.
You will need at least one dataset if your agent uses data.
2. How to Open Custom AI Agents Builder
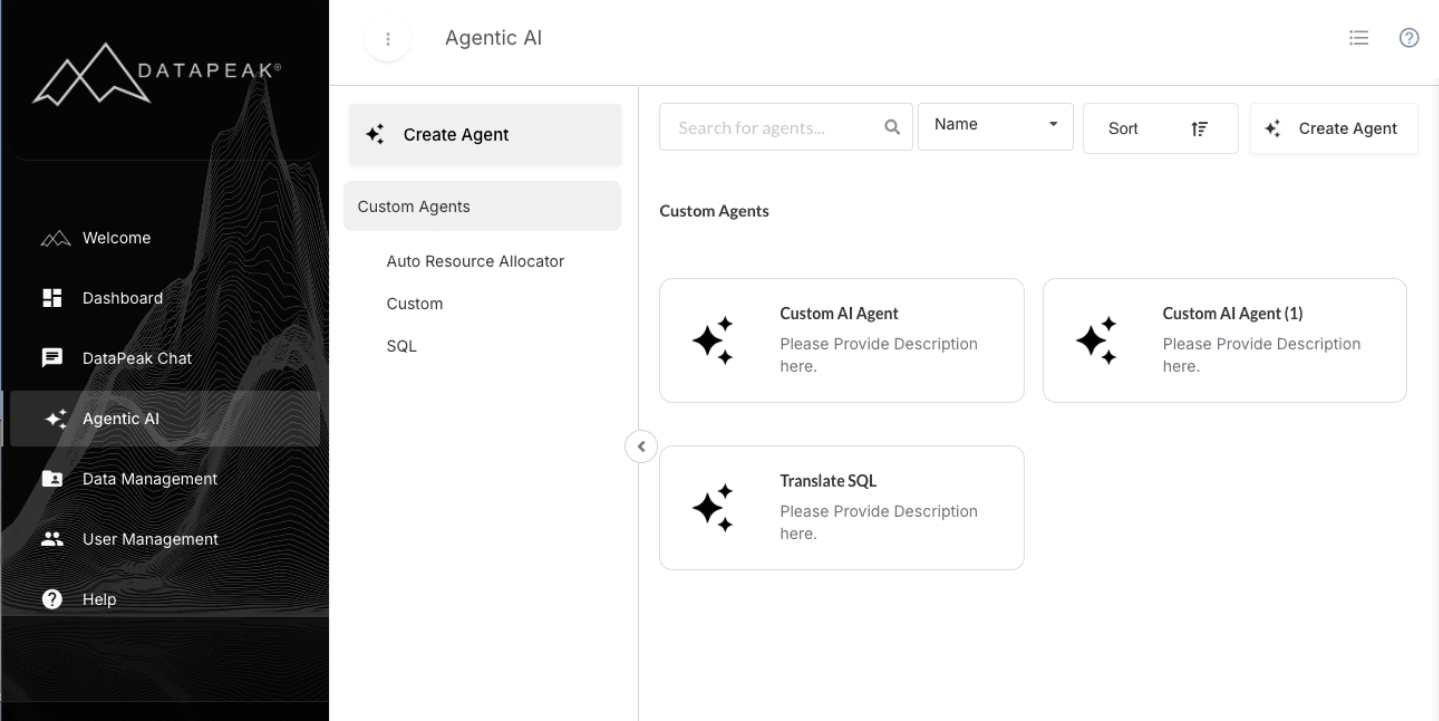
Sign in to DataPeak.
Click Agentic AI in the left sidebar.
At the top of the page, click Create Agent.
This opens the Custom AI Agents Builder, where you’ll design your workflow.
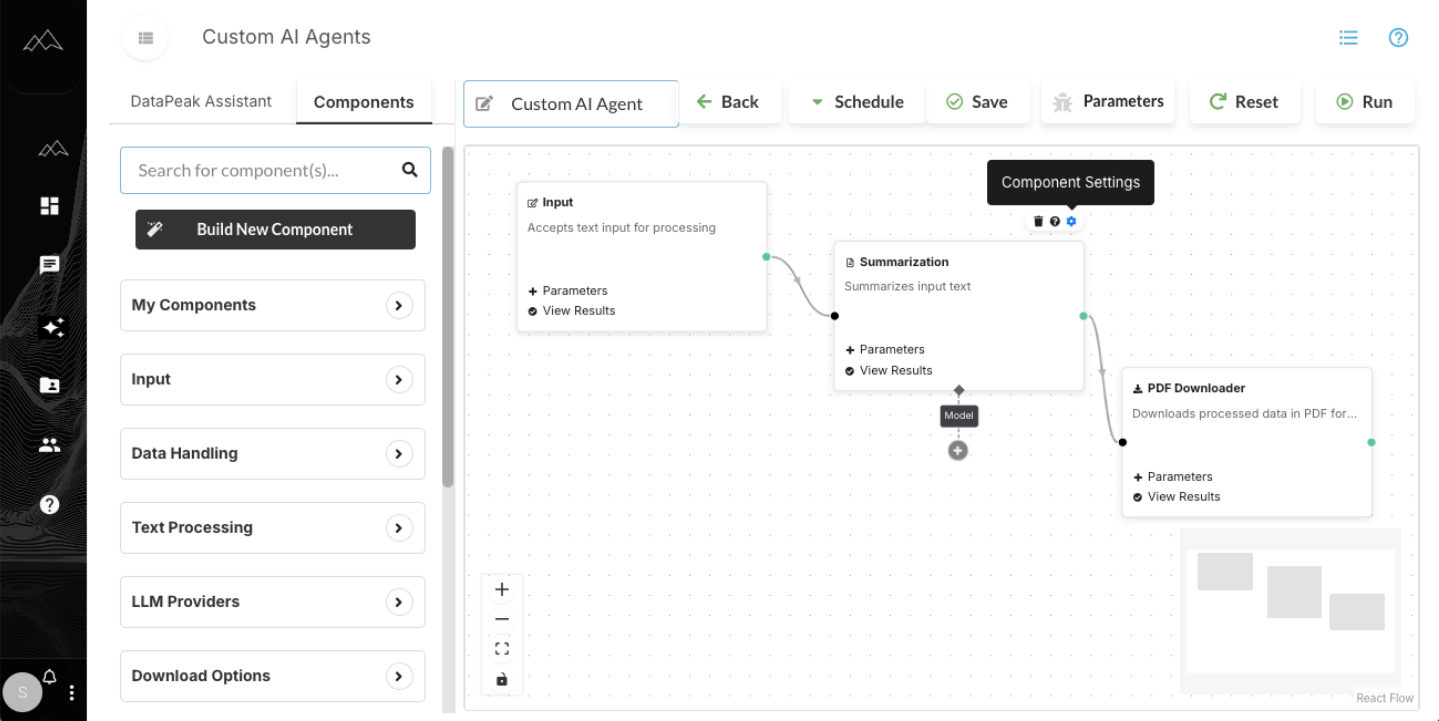
3. Understanding the Custom AI Agents Builder
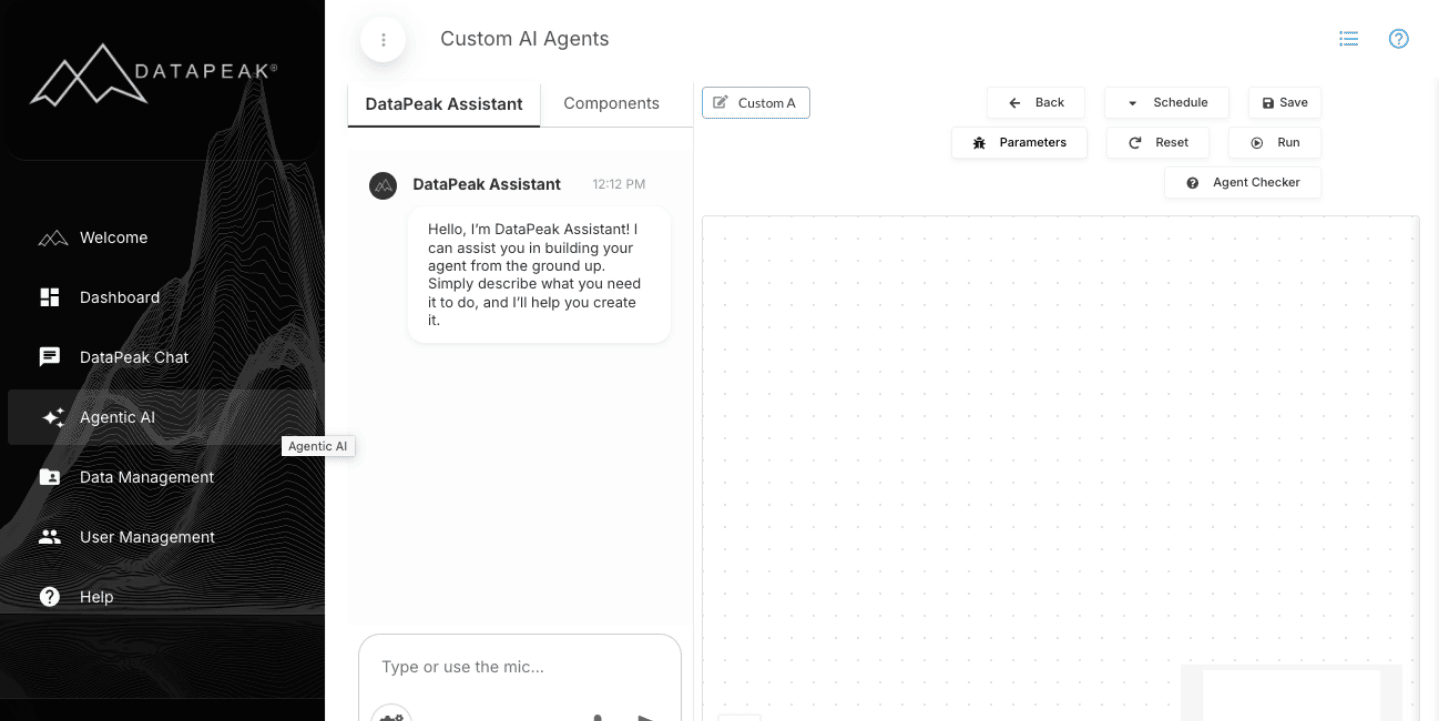
The Agent Builder consists of:
The DataPeak Assistant (right side)
Where you can type or use the microphone to describe the type of agent you would like to build and DataPeak will assist you in building your agent from the ground up.
The Component List (left side)
All available components, inputs, processing steps, summaries, queries, output components, etc., are listed here.
The Canvas (center)
Where you drag and drop components to build your workflow.
Configuration Options
Hover over a component to see:
A gear icon (configure parameters), you may also use the + Parameters
A trash icon (delete component)
All agents must begin with at least one input component.
4. Add Your First Component
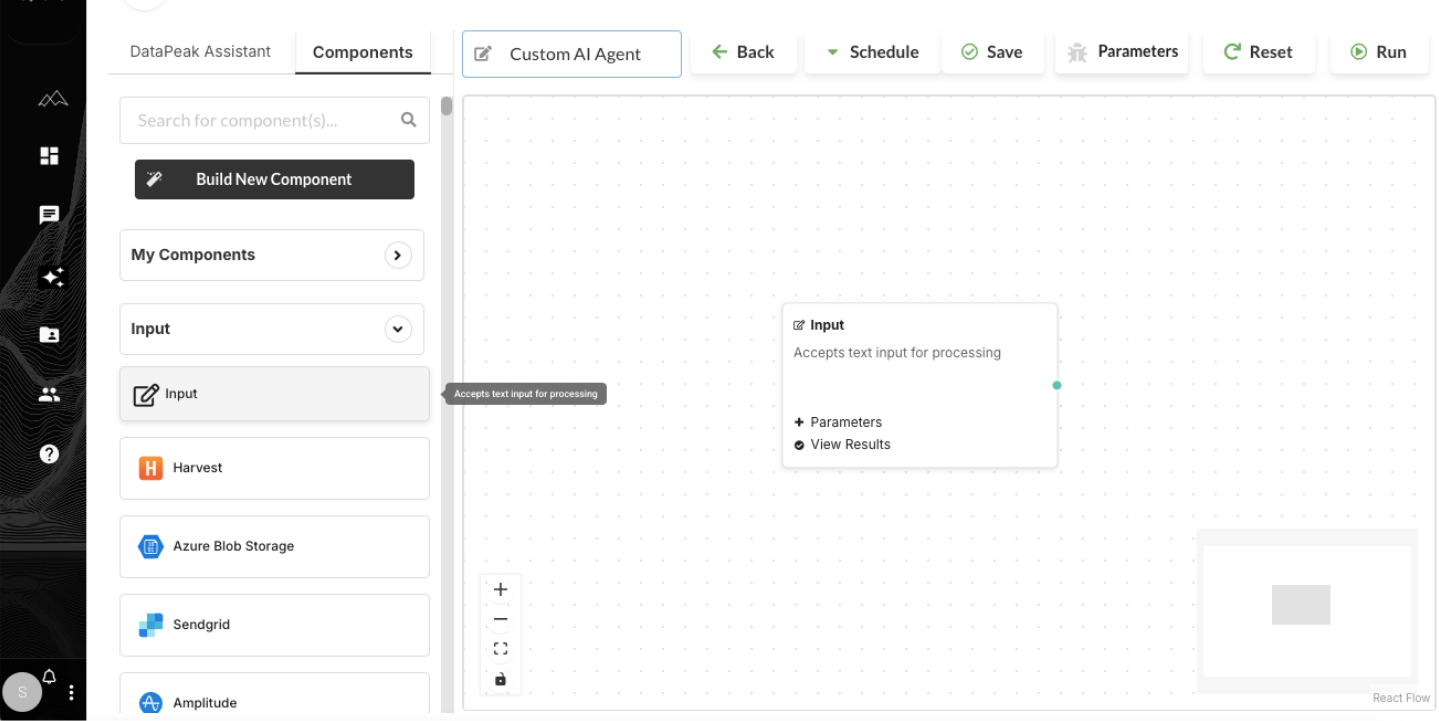
To begin:
Drag an Input component (such as a Dataset input) from the left panel onto the canvas.
Configure it by selecting the gear icon or clicking + Parameters.
This sets the starting point for your workflow.
5. Add & Link Components
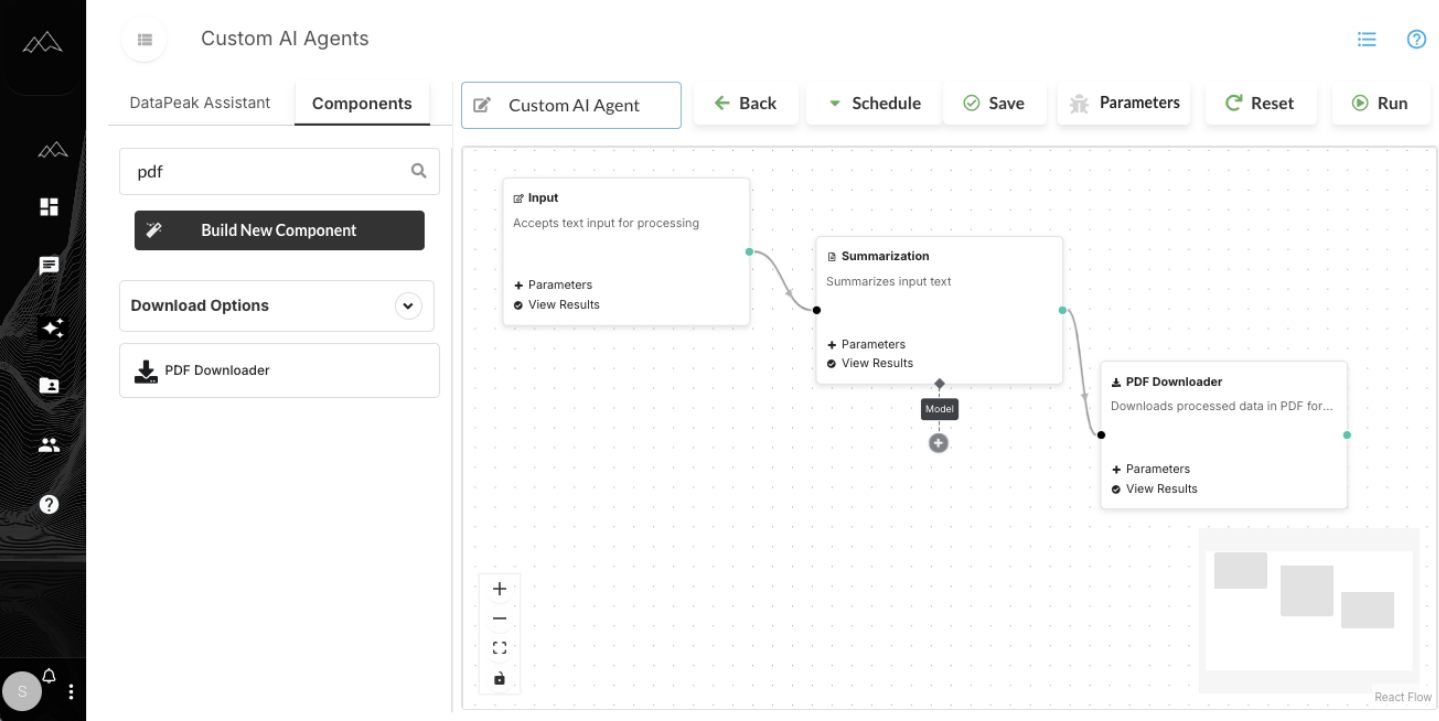
Once your input component is placed:
Drag additional components onto the canvas, such as summarization, querying, data cleaner, or file outputs.
To connect components, link the green output circle → to the black input circle on another component.
You can branch your workflow by linking multiple components from the same input.
Example
A dataset input might branch into:
A Summarize Data component
A Query Data component → followed by → a PDF Download component
6. Configure Each Component
Some components require parameter setup.
To configure:
Hover over the component
Click the gear icon or + Parameters
Fill in required details (dataset fields, instructions, output format, etc.)
You can return and adjust component parameters anytime.
Validating Workflow Compatibility
Before running, use the Agent Checker panel to validate your workflow:
It automatically checks each node for input/output compatibility.
Warnings (yellow) or errors (red) will appear if there are issues.
Hover over any flagged node to view details and suggested fixes.
7. Run & Test Your Agent
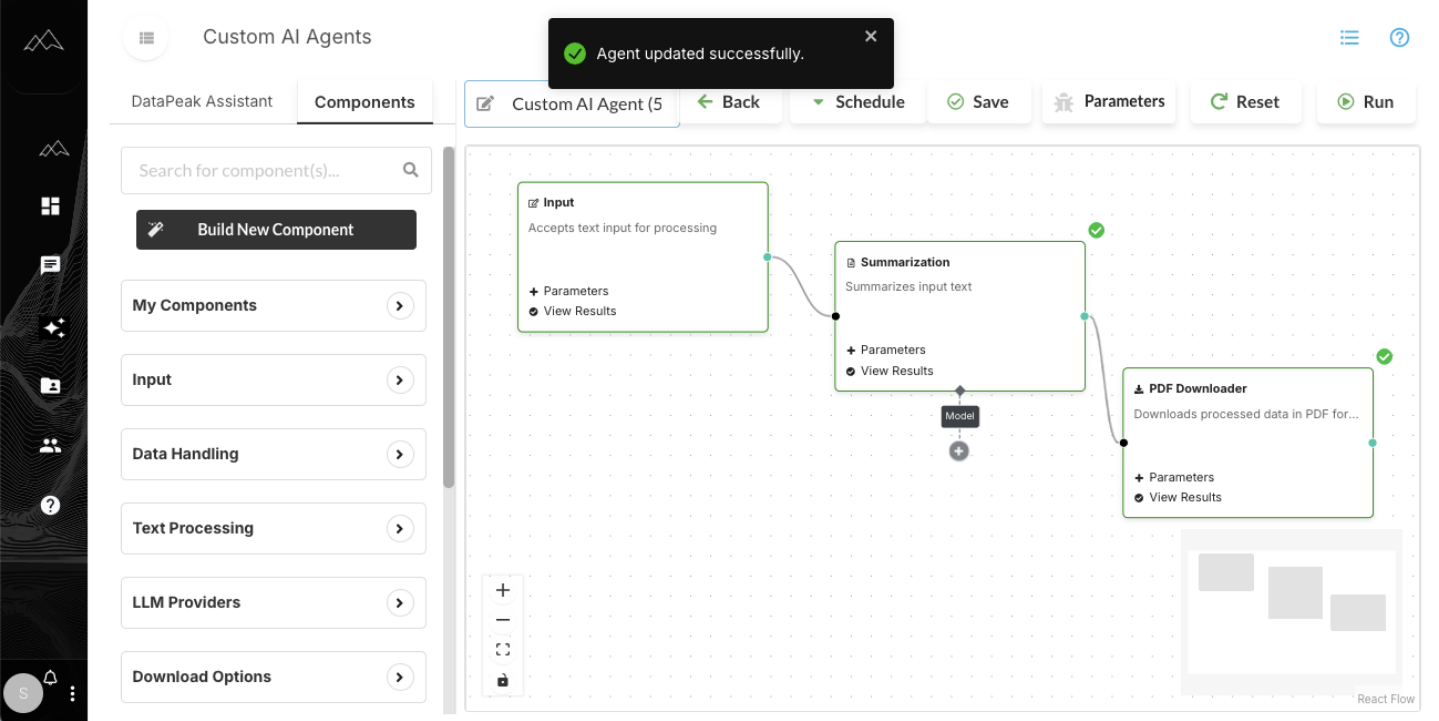
Before saving:
Click Run icon.
DataPeak will execute your workflow step-by-step.
Successful components display a green checkmark.
Click the green checkmark to preview results from that component.
If your workflow includes an output component (like PDF generation), you’ll be prompted to download the result.
If something doesn’t work, adjust the component and re-run.
8. Save Your Agent
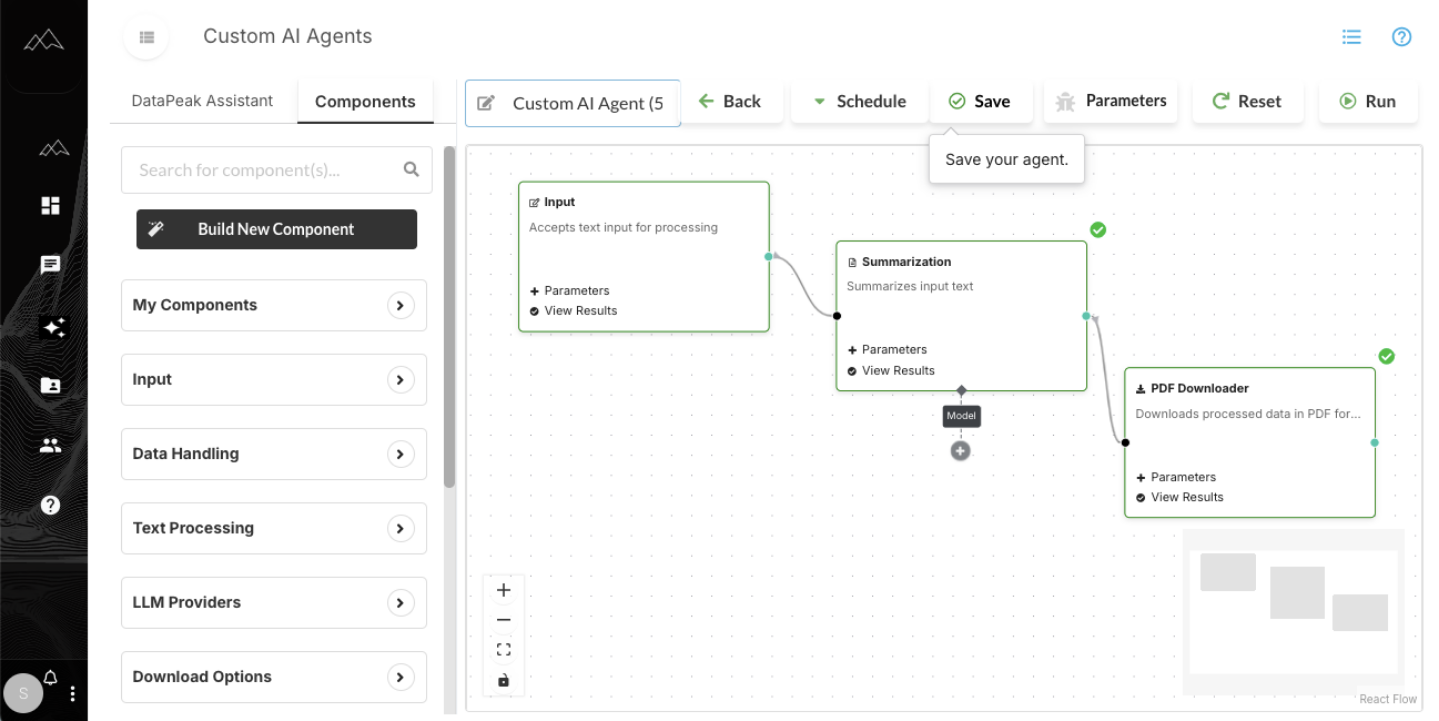
Once the workflow runs successfully:
Enter an Agent Name
Add a Description
Click Save
Your new agent will appear under My Custom Agents in the Agentic AI section.
9. Use, Edit, or Delete the Agent
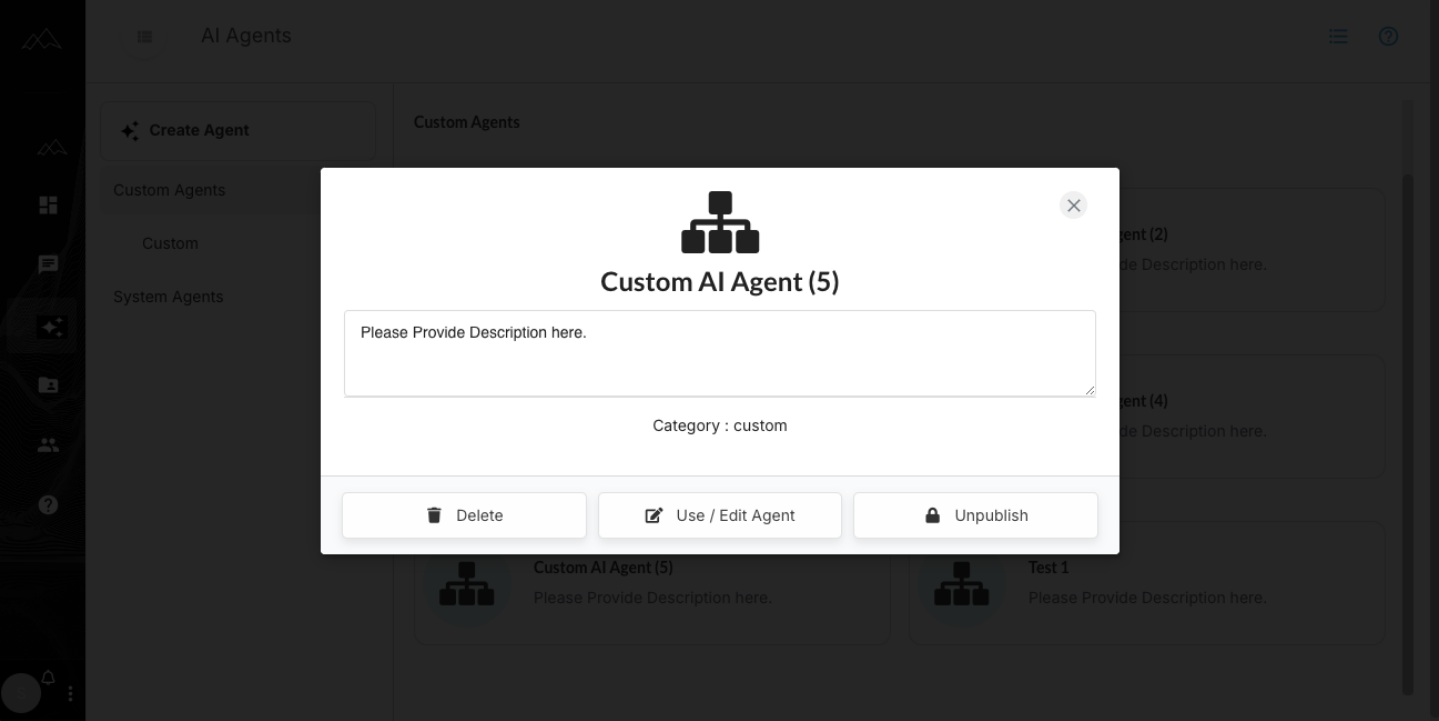
When you select a saved agent, you’ll see:
Use/Edit Agent → Reopens the Agent Builder
Delete → Permanently removes it
10. When to Create a Custom Agent
Create a custom agent when you need to:
Automate a recurring workflow
Process a dataset in multiple steps
Generate custom outputs (PDF, tables, summaries)
Combine logic, queries, and summaries
Build a workflow once and reuse it anytime