
How To Use DataPeak User Management
Add users, assign roles, and build your permission hierarchy.
The User Management section includes three pages:
Users
Hierarchy
Permissions
These pages let Admins and Sub Admins manage access, assign roles, and design how teams and permissions are structured inside your workspace.
Use the Users page when you need to:
Invite new teammates
Change someone’s role
Update their assigned permissions
Deactivate or remove a user
Use Hierarchy & Permissions when you need to:
Build your permission structure
Create team-based or location-based access
Assign read/write rights
Edit or create permission levels
1. Users Page
The Users page is where you manage people in your workspace.
Admins and Sub Admins can create and manage users below their system role.
What you can do on the Users page:
View all existing users
Invite new users
Assign system roles
Assign location/team permissions
Edit user details
Deactivate or remove users
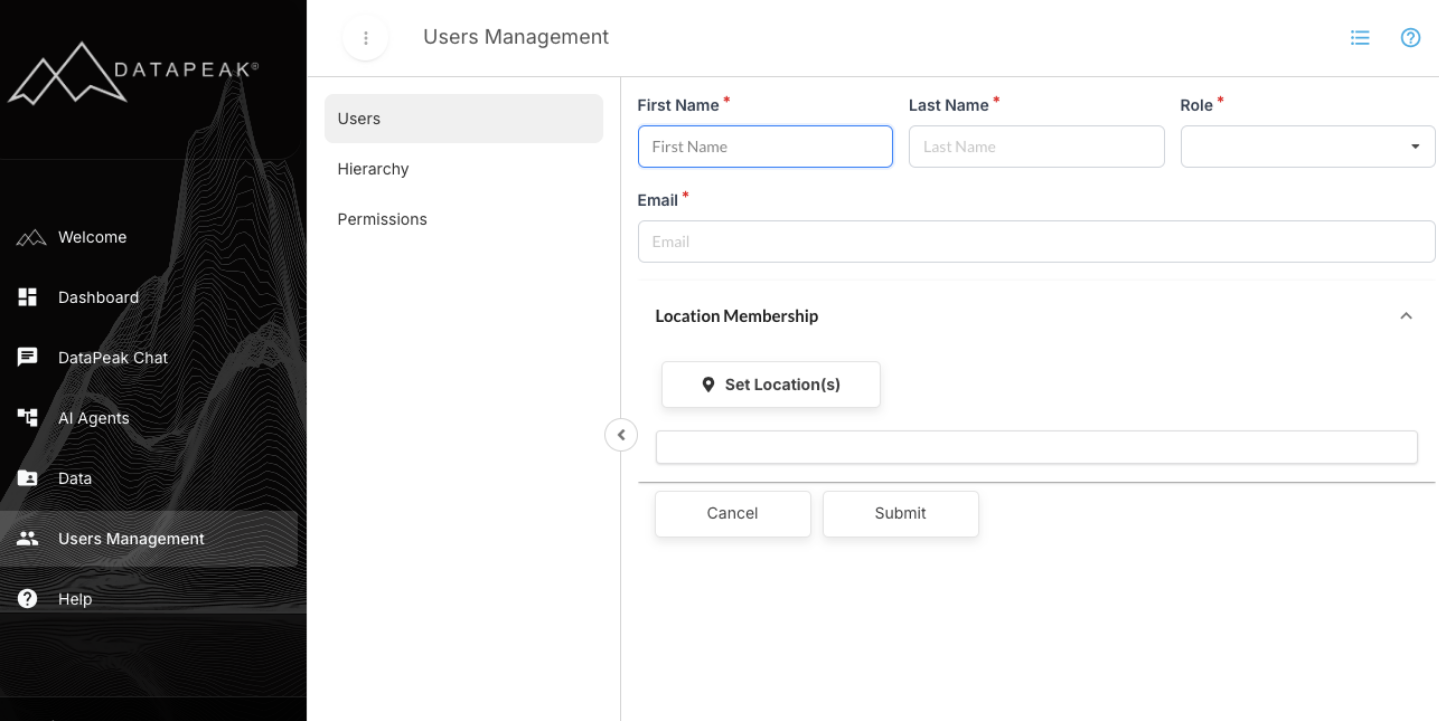
Creating a New User
There are two ways to add a new user:
If your account is brand new:
Click Add New (appears when no users exist yet).
Otherwise:
Click the Plus (+) icon at the top of the table.
Information required when creating a user:
First Name
Last Name
Email Address
System Role
System Roles Explained
Admin – Full access to the system
Sub Admin – Almost all the same functionality as an Admin
User – Limited access; restricted primarily to dashboards and data sheets
Assigning Permissions
After filling out user details, you can optionally click Set Locations to assign permissions.
Important:
If you haven’t created any permissions yet, you’ll need to create them first in Hierarchy & Permissions, then return to assign them to the user.
Sending the Invitation
Click Submit, and the user will receive an email to complete their registration.
Editing a User
To edit a user:
Click their name from the Users table
Make changes (role, location permissions, deactivate user, etc.)
Click Update
Note: Users’ email addresses cannot be changed unless done by a Site Admin.
2. Hierarchy & Permissions
These sections manage the permission structure for your entire workspace.
What you can do here:
Create a root permission
Build a hierarchy of permission levels
Edit each permission node
Choose read / read-write / read-write-delete access levels
Assign permissions to users, graphs, and data sheets
Root Permission (Super Permission)
When you first open this page, you must create a root permission.
This acts as a super permission, any user assigned to it has full rights across the system.
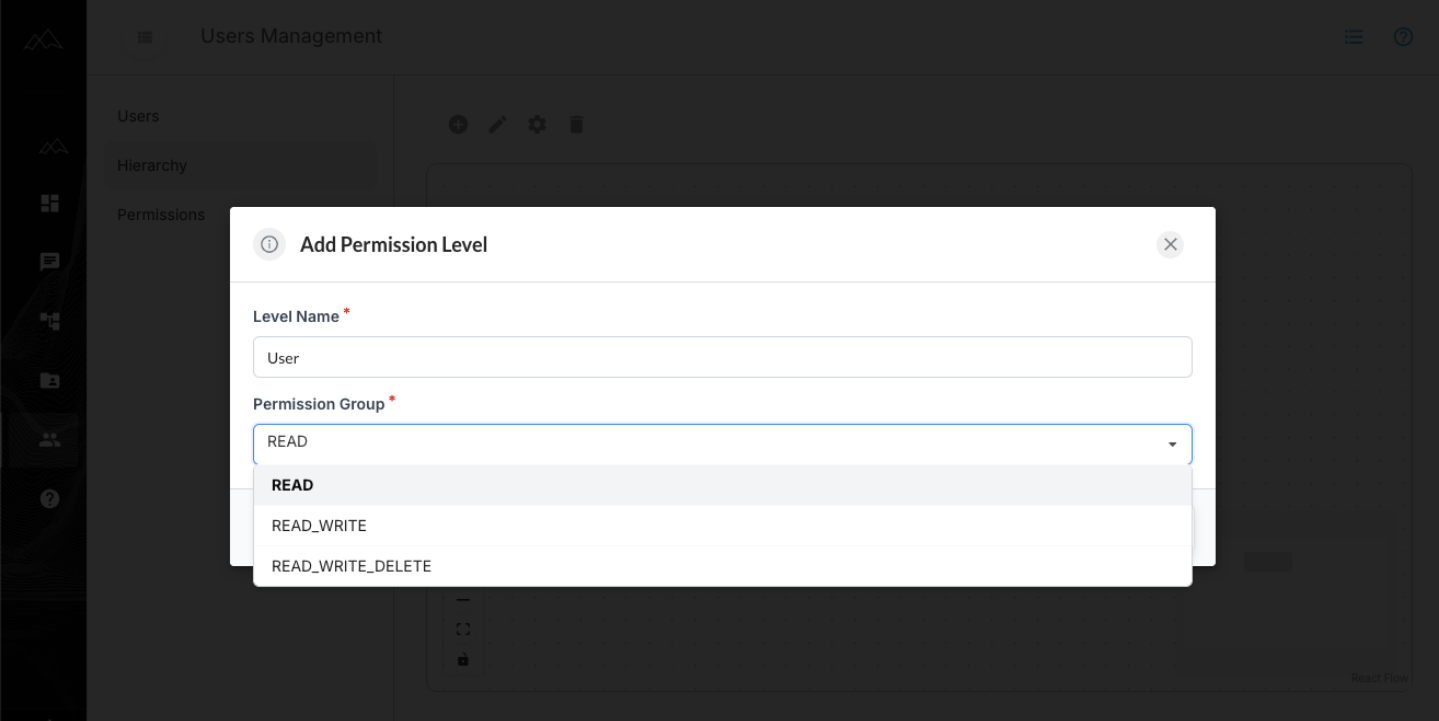
Creating Permissions
To create a permission structure:
Click the root permission
Use the Plus (+) icon to add new permissions beneath it
Repeat this process to build the hierarchy you need
(For example: Company → Region → Team)
You can create as many permission levels as your workspace requires.
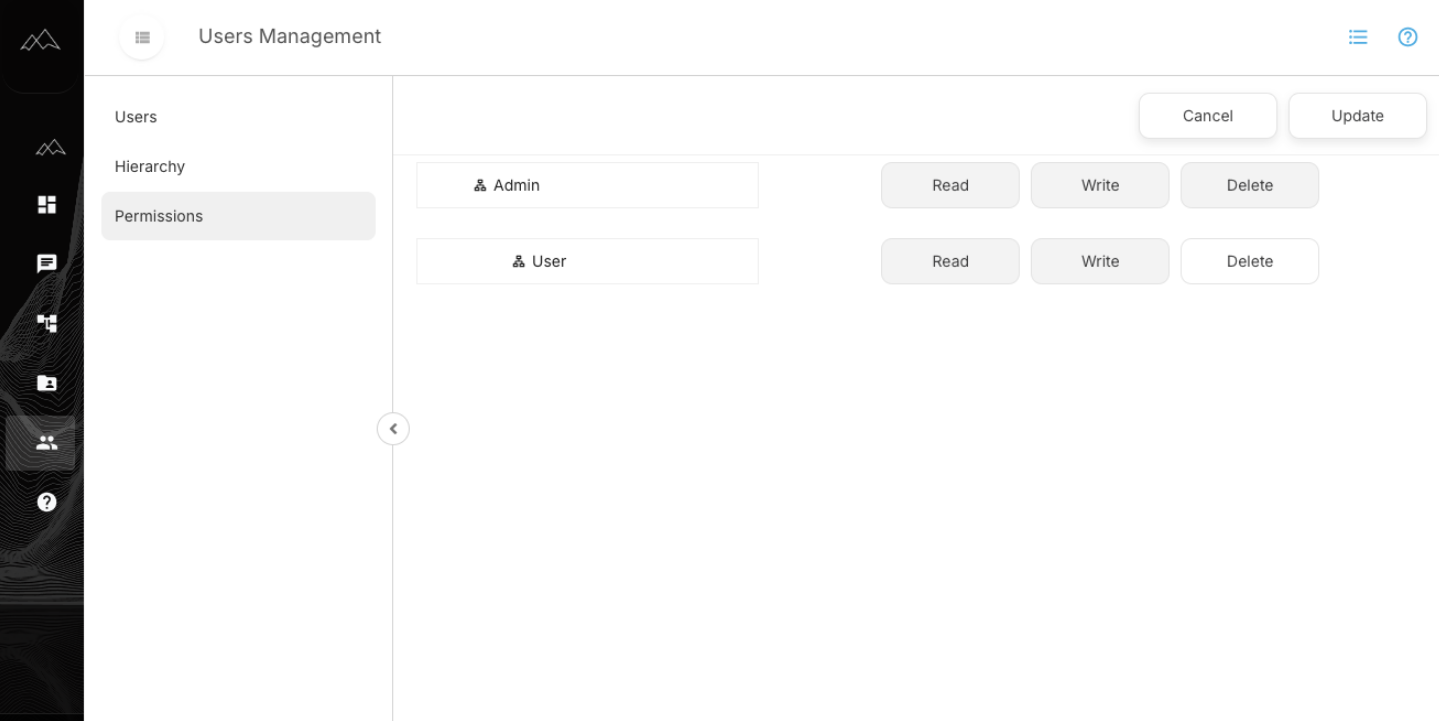
Editing a Permission
To edit any permission:
Select the node you want to modify
Click Edit
Choose one of the available access levels:
Read Only
Read + Write
Read + Write + Delete
These permissions apply to:
Users
Graphs
Data Sheets